
5 Tips for Flawless Gel Nails
5 Tips for Flawless Gel Nails
Gel nail polish has recently become one of the biggest trends in beauty, and it’s pretty easy to see why. Aside from the ability to enhance any look, gel polish has unbeatable longevity compared to regular nail polish with its ability to last over two weeks without needing to be retouched. Gel polish also resists scratching and flaking unlike regular polish.
Nail technicians and beauty experts are raving about the benefits of gel nails! The difference lies in the application of gel nails which require an LED light to properly cure and adhere to the nail. When exposed to the rays in the LED light, the gel has a much higher staying power than regular acrylic polish. These results can be achieved in a professional salon by a nail technician or at home if you have the right equipment.
If you’ve never explored gel nails, you might feel anxious about doing the process yourself since it’s much different from conventional nail painting. These five tips will help you achieve flawless gel nails at home!
-
The Right Equipment
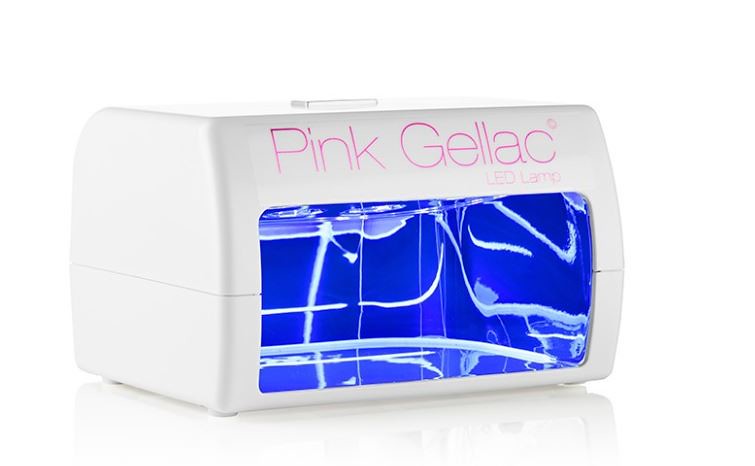
Before you attempt a gel manicure at home, you’ll need to ensure you have all the right things for success. Acrylic nail polish does not react the same as gel nail polish under special light rays. You will need gel nail polish in whatever color you wish, and you will also need a special lamp for curing the nails.
Gel nails cure under both LED and UV lights, but LED lights are often recommended because they have a shorter cure time. There are also gel nail polish starter kits available to ensure you have everything you need to create perfect nails!
2. Prepare Your Nail
Before you begin painting with gel polish, you’ll want to properly prepare your nail. First, clean your nail with an alcohol soaked cloth or towel to remove any debris. If you have any particles on your nail, the polish will stick to those instead which you don’t want! After cleaning your nail fully, apply a base coat to ensure the color goes on smoothly.
3. Apply Lotion Around Your Nail
Painting your nails can be tricky if you’re not a professional. Using acetone and harsh removers to clean the skin around your nails after painting can be drying and harsh on the skin. If you apply a thick lotion around your nail before painting, you’ll actually only get paint on the lotion. This makes cleaning your design simple and gentle!
4. Thin Layers
Unlike regular acrylic polish, you only need a small, thin layer of gel to achieve high levels of color. If this is your first time painting with gel polish, start with small, thin strokes until you get the hang of the process. If you use too much polish, this can actually build up around your cuticle and nail bed which is unsightly!

5. Cap Your Edges
This is a process that is only practiced when painting with gel polish! After you finish painting your nail, cap the edge by going over the free side of your nail. This is important especially for your base and final coat of polish because it forms a barrier which makes it harder for the gel to flake from your nails.
Flawless Gel Nails
Painting with gel polish can be a little scary at first, but it’s worth the extra steps to create a lasting work of nail art! Gel polish is a great way to achieve salon styles at home! These tips will make sure your gel nails are perfect each time!


One Comment
Charm J
Hello Miss Kaycee! I hope you’re feeling better now.
Anywa, once pa lang ako nakapag-try ng gel nail polish, pinagawa ko pa sa salon because I can’t do it on my own. Inabot ng 4 weeks bago ako nagpa-remove and hindi pala talaga sya basta natatanggal ng usual na acetone ^-^ buti na lang suki ako dun sa salon so libre na ang paremove ng gel nail polish ko nun. Di ko pa ulit na-try recently kase mahal at Php550! Dun na lang ako sa traditional na mani-pedi na Php 90 and php 70 respectively. =)